
Blackshear Project : Before & After

The original kitchen.

Same kitchen area after a lot of work.
After a few weeks of lingering projects, we've finally managed to wrap up most of the big things on our house. During the last week we made a big push and got some floating shelving with lighting installed in the kitchen, as well as some hanging Plumen lights for general lighting. I took a few minutes yesterday to take some photos of the (almost) finished project, and I thought it was a good time to share some before and after photos.
The Kitchen:
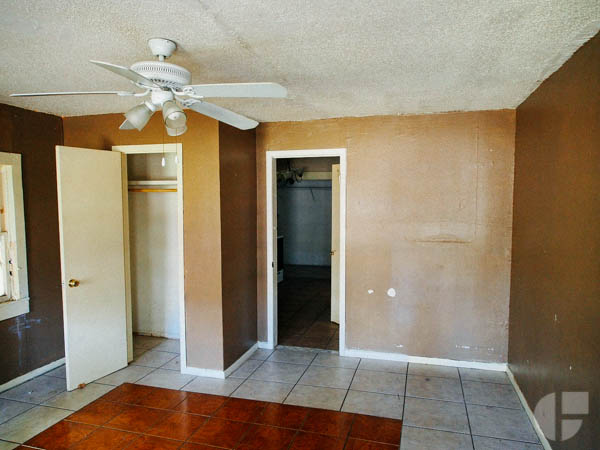
If you remember, when we first bought the house it was a bunch of small rooms. This was the living room on one side looking back towards the kitchen.

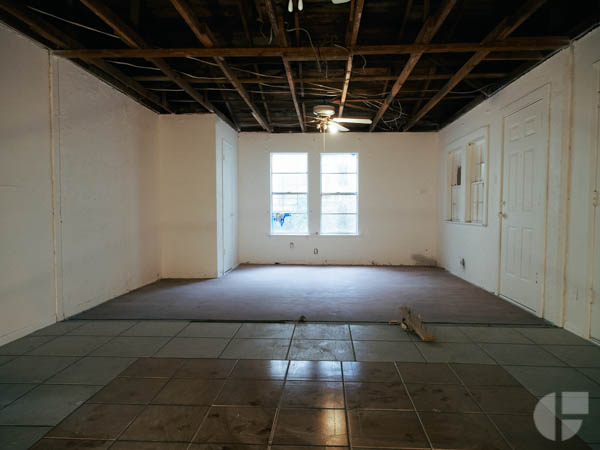
Another shot mid demolition. This is after tearing down some walls and blowing out the back of the house for a sliding glass door.

What it looks like now. I love how well the redwood table matches the color of the walnut kitchen cabinetry and the wood framing of the house.
The Dining Room:

Technically speaking the kitchen, dining room and living room are all one room. This is from the corner of the dining room looking towards the living room on the right, and the kitchen on the left. This is obviously after some demo had started.

Here is a shot from the same corner after sealing off the old door to the bedroom, and spraying about 25 gallons of flat white paint. I'm always amazed how far a much of a difference a little cleaning and some white paint will make.

It really wasn't until we painted the floors white and started moving furniture in that it all pulled together.
The Living Room:
Another shot looking towards the living room from the dining room. You can see where the flooring changes where there used to be a wall separating the two sides.

And the finished product.